
Installing Git on macOS
Do you already have the git commandline utility?
Chances are, yes! macOS comes with a version of git pre-installed, called Apple git. This version of git is installed at /usr/bin/git.
HOWEVER, Apple git tends to be behind the latest versions of git. It can be lagging behind in terms of features and security updates.
If you have Apple git, it is recommended to install a more recent version of git, such as from Homebrew or MacPorts. The installation section is found below.
To verify where your install of git is located in your file system, open a terminal window and enter the following command:
which git
To launch the terminal, you can type Terminal or Terminal.app in Spotlight Search. In most macOS installations, Spotlight Search can be triggered by hitting ⌘ Space. Alternatively, you can open a Finder window, go to the /Applications folder and open the Terminal app from there.
If you are using Apple git, then you would see the following:
/usr/bin/git
However, if you have installed git from a different source, this filepath may be different. For example, on a Mac with Apple Silicon, having installed git from Homebrew will likely yield the following filepath:
/opt/homebrew/bin/git

If you are using Apple git, it is strongly recommended to install git from Homebrew. Alternatively, you may also get git from MacPorts. This ensures that you are using the latest stable version of git, with the latest security patches and features.
Installation
There are a few options to install the git commandline utility on macOS:
- From Homebrew (recommended)
- From MacPorts
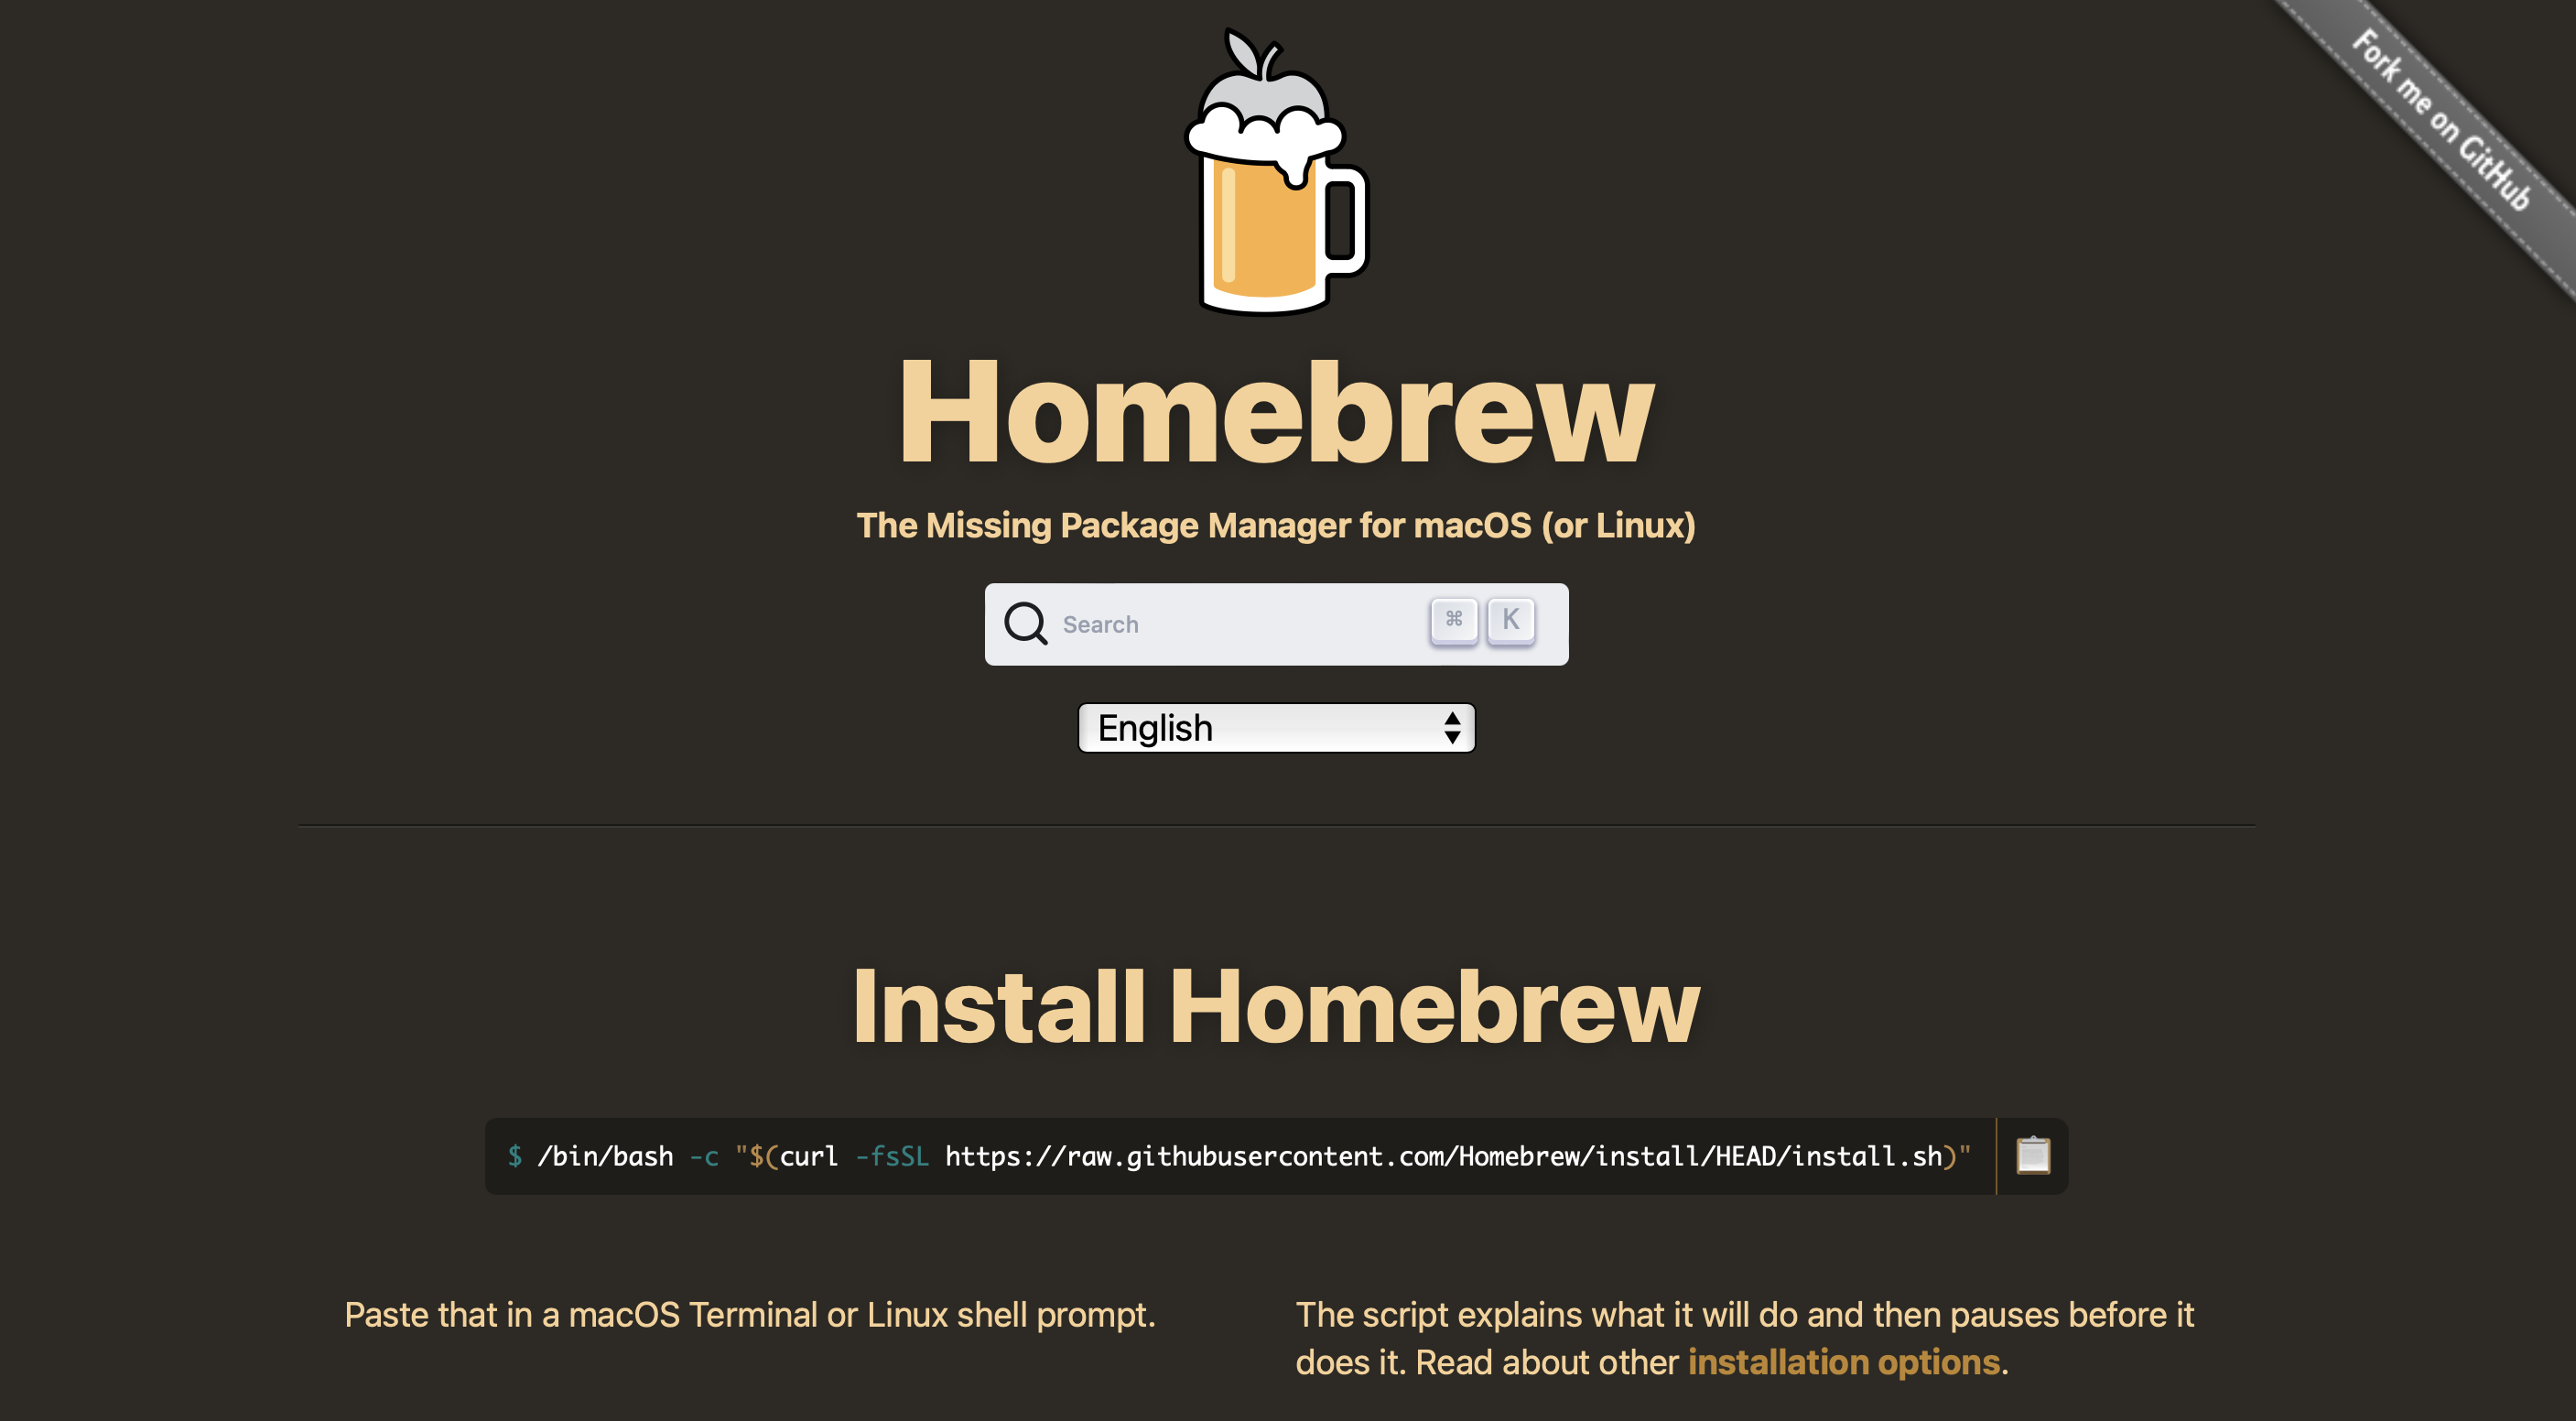
Installation from Homebrew (recommended)
If you do not already have the Homebrew package manager, visit its official website, then follow the installation instructions there.
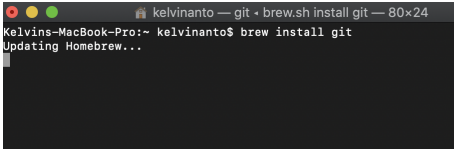
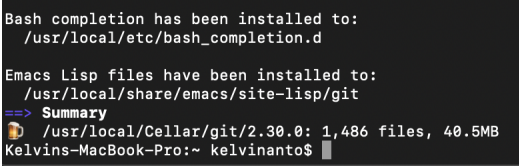
Once Homebrew is installed, you can install git using Homebrew. To do so, launch the terminal, then type the following command in the terminal window that appears:
brew install git
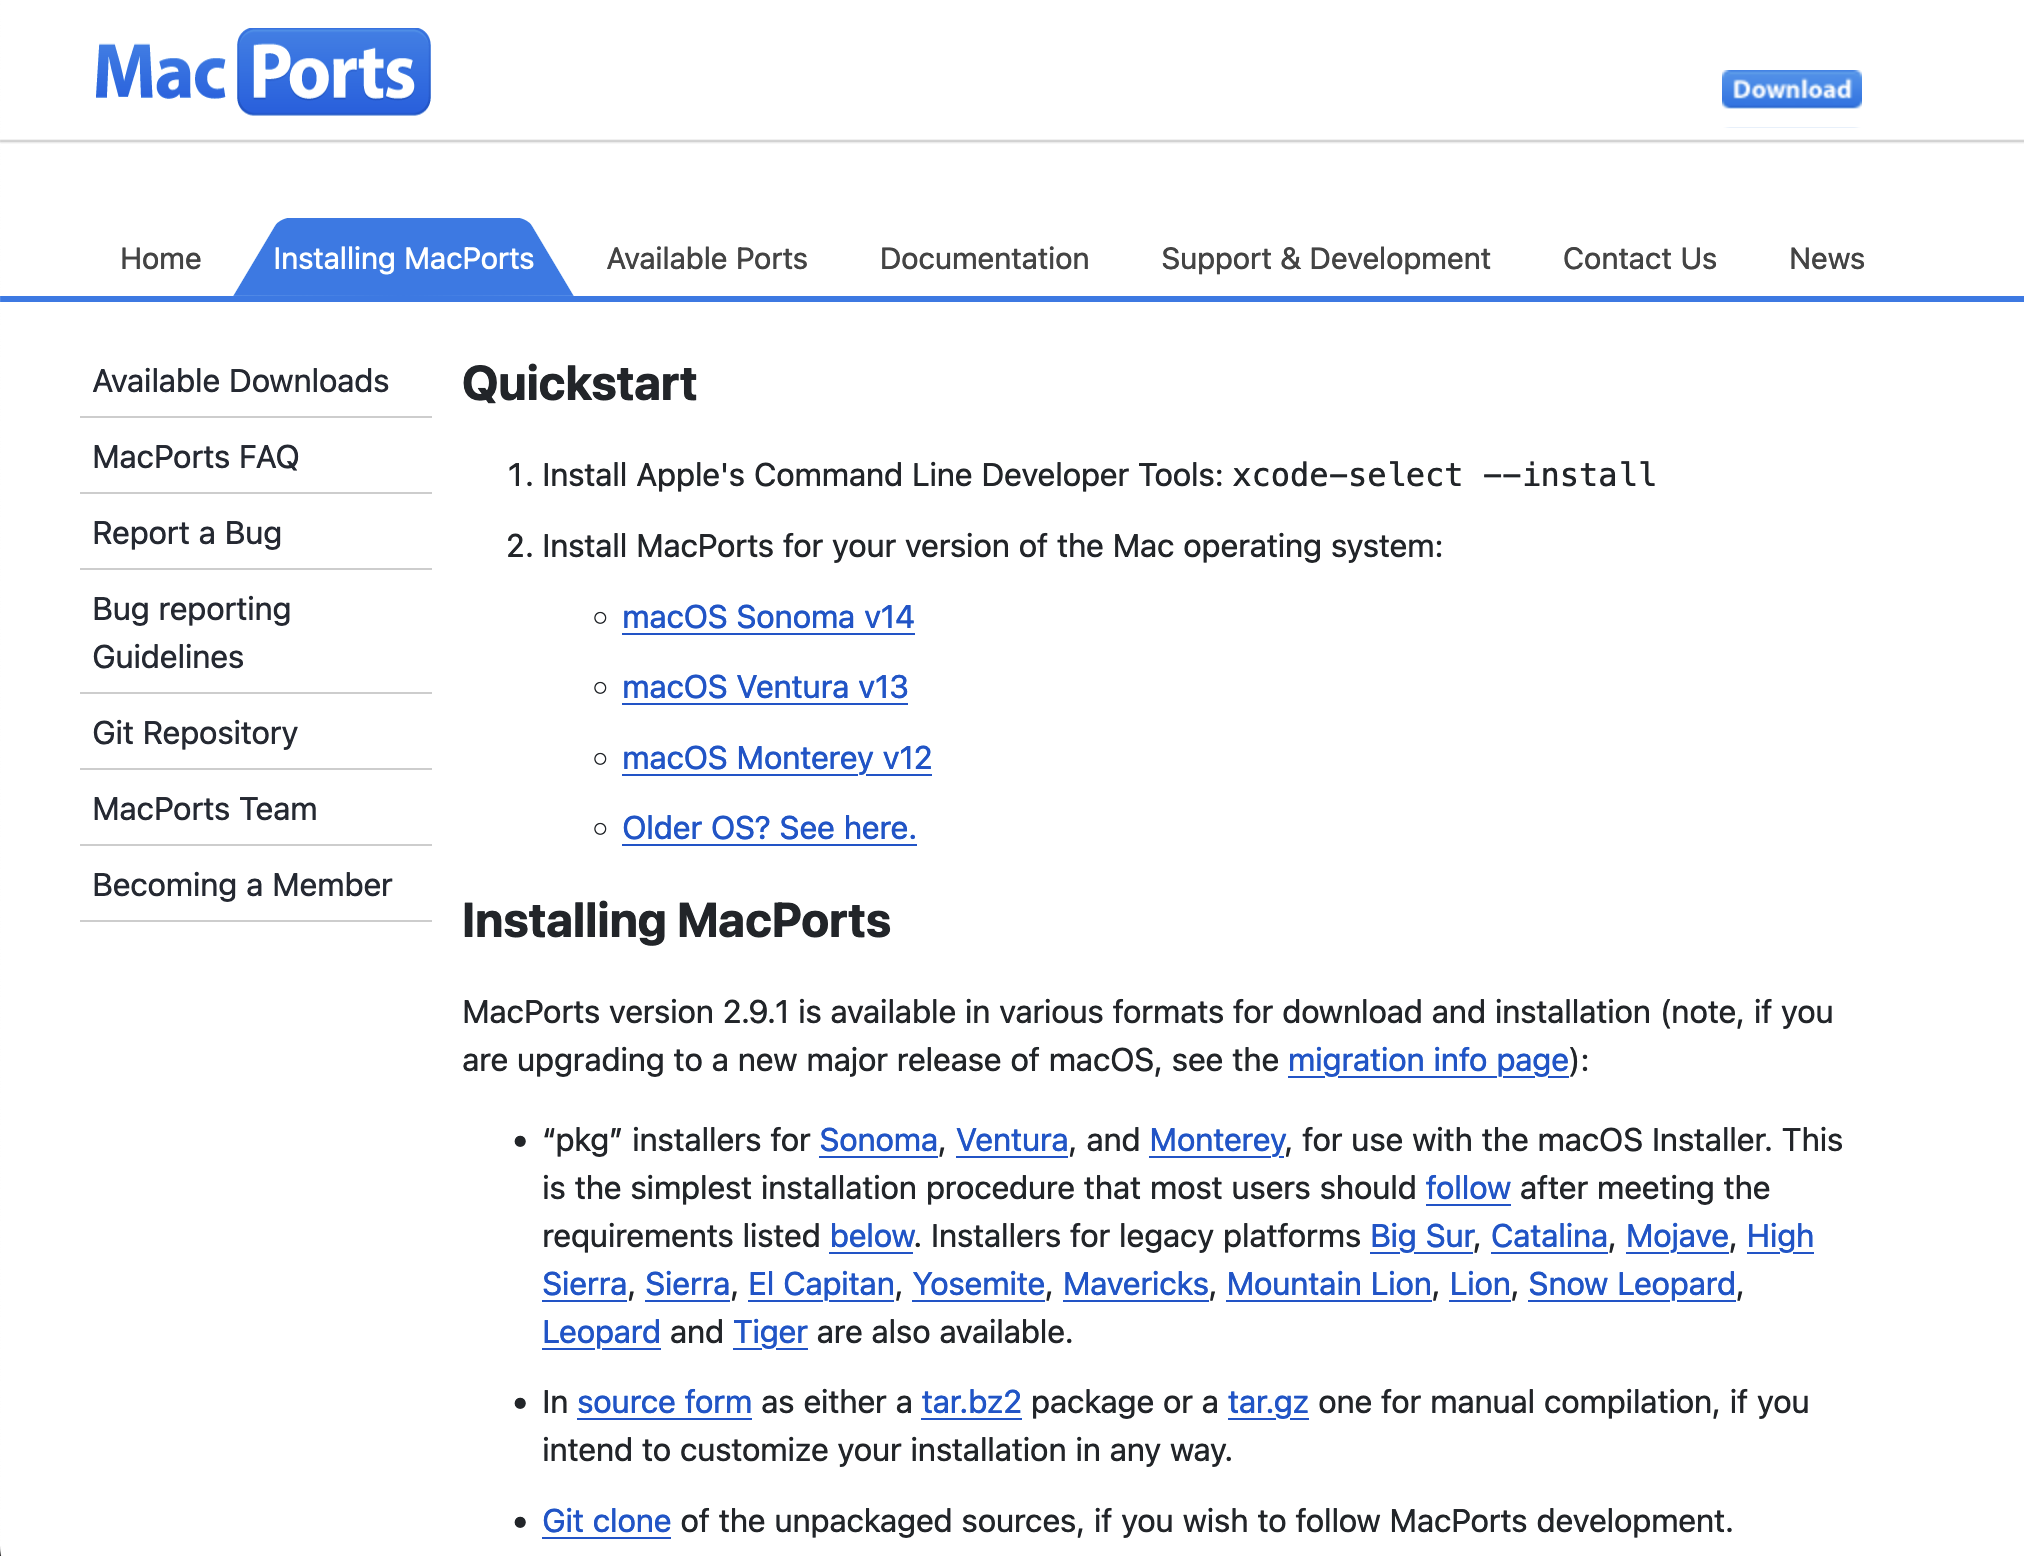
Installation from MacPorts
If you do not already have a package manager on your system such as Homebrew or MacPorts, and wish to install packages using MacPorts, then follow the instructions to install MacPorts from the official website for your respective macOS version.
Once MacPorts is installed, you can install git using MacPorts. To do so, launch the terminal, then type the following command in the terminal window that appears:
sudo port install git
Note that with the above command, you may be prompted for your macOS login password. When you type your password, no characters may appear. This is normal, and intended for security reasons.
Verifying your Installation
Verify that git has installed properly.
To do so, launch the terminal, then type the following command in the terminal window that appears:
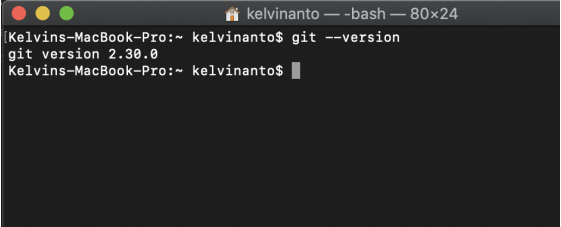
git --version
You should see something that resembles the screenshot below, though your version number may be different:
Setting up git
To set up git, go to the Git Setup webpage.